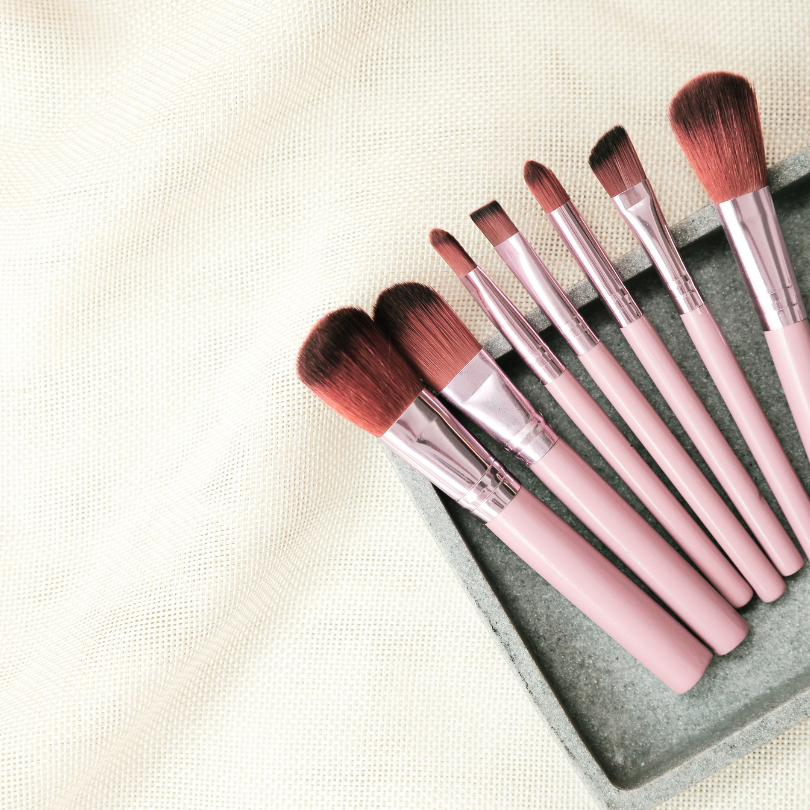
Have you ever wondered why makeup artists always seem to have such flawless skin? One of their secrets might surprise you: it’s all about a deep cleaning of your makeup brushes. Clean brushes not only apply makeup more smoothly and evenly, but they also help prevent a whole host of skin problems like breakouts, irritation, and even infections.
Makeup brushes can get easily dirty! Left unwashed, all that leftover makeup, oil, and dead skin cells turn into a cozy home for icky germs. These germs can then irritate your skin and cause breakouts. just like your skin needs regular cleansing, so do your brushes. A deep cleaning of your makeup brushes once a week removes built-up makeup, oil, and bacteria, keeping your brushes hygienic and your application smooth. This guide will walk you through everything you need to know about cleaning your makeup brushes, from the tools you will need to the best techniques for different types of brushes.
Here’s a detailed guide to deep cleaning of your makeup brushes within a week:
Your makeup brushes work hard to apply your favorite looks, but they get dirty too! Here’s how to keep them clean with everyday stuff:
- Dish Soap Power: This cuts through built-up makeup. Put some soap on a damp sponge and gently wipe your brushes. Rinse them well and lay them flat to dry.
- Vinegar and Lemon Magic: This combo disinfects and freshens. Mix vinegar with hot water, then swirl your brush tips in it. Rinse and dab them on a lemon to remove the vinegar scent. Apple cider vinegar works too.
- Baby Shampoo’s Gentle Touch: This is perfect for all brush types. Add a drop of baby shampoo to lukewarm water and swirl your brushes. Rinse thoroughly and let them dry flat.
Ready to take your eyeshadow game to the next level? Learn how to master the art of eyeshadow. Learn More
Give Your Brushes a Spa Day: A Step-by-Step Guide
Makeup brushes work hard, but they get dirty too! Here’s how to give them a refreshing clean:
- First things first: Rinse! Hold your brushes under lukewarm water and gently rinse the tips only. Avoid soaking the whole brush head, as this can loosen the glue.
- Shampoo Time: Mix a tablespoon of gentle or clarifying shampoo (not soap!) in lukewarm water. Swirl the brush tips in the mixture and massage them gently for a good lather.
- Rinse Repeat: Rinse the brush tips thoroughly with clean water. Repeat steps 2 and 3 until the rinsing water runs clear, meaning there’s no more makeup residue.
- Squeeze Out the Excess: Gently squeeze out extra water from the bristles using a clean, dry paper towel.
- Flat Out for Drying: Lay your brushes flat on a dry towel with the tips hanging off the edge. Don’t stand them upright, as water can seep down and loosen the glue.
- Drying Time: Let your brushes air dry for a day or so, or overnight.
Bonus Tips:
- Clean your makeup brushes in a well-ventilated area.
- Avoid using hot water, as it can damage the bristles.
- Don’t use harsh chemicals or abrasive cleaners on your brushes.
- If using a brush cleaning pad, ensure it’s cleaned and disinfected regularly.
- Replace your brushes every few years, depending on usage and wear.
Conclusion
Don’t forget to clean makeup sponges too! They can trap moisture and makeup, which can lead to bacteria growth. Most sponges have preservatives to prevent this, but regular cleaning is still a good idea. Finally, avoid sharing your makeup brushes with others and replace old or worn-out brushes. Dirty brushes can cause skin infections, allergic reactions, and acne. If you think your brushes might be causing skin problems, see a dermatologist.
Be part of our community! Follow us on Facebook for updates, discussions, and more. Click Here
