Eyeshadow is a useful tool to enhance your eye shape, color, and create dramatic or subtle looks. But for beginners, it can seem intimidating. However, with a little guidance, you can be well on your way to mastering the Art of Eyeshadow. This comprehensive guide will take you from prepping your lids to achieving a gorgeously blended finish. We’ll cover everything from choosing the right brushes to essential techniques and blending tips. So, get ready to unleash your inner makeup artist and create stunning eye looks!
Preparation is Key
- Prime Time: Eyeshadow primer is a game-changer. It creates a smooth canvas for your eyeshadow, prevents creasing, and helps the colors appear more vibrant. Apply a thin layer to your eyelid and blend it upwards towards your brow bone.
- Conceal and Correct: For an even better base, address any discoloration with concealer. Apply a small amount and blend it seamlessly to avoid cakiness. This is especially helpful if you have dark circles or uneven skin tone on your lids.
Want to know what makeup tricks work best for your face shape? Check out these helpful guides! Click Here
Essential Tools
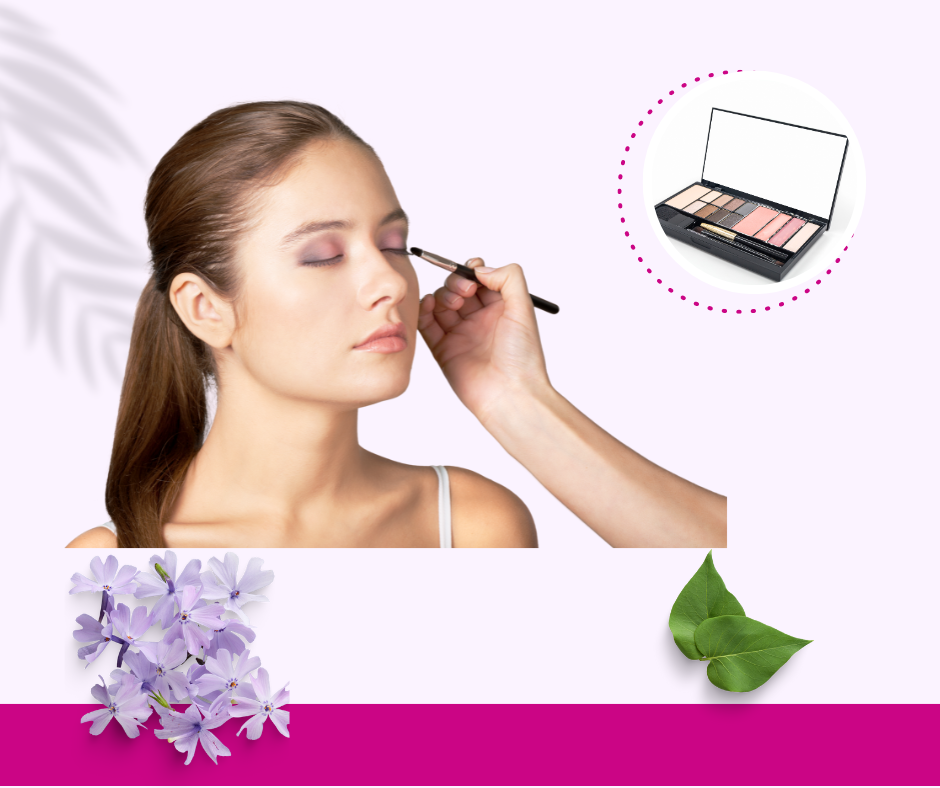
Having the right brushes can significantly impact your eyeshadow application. Here are some key ones to get you started:
- Shader Brush: A flat, firm brush perfect for applying color to your eyelid.
- Blending Brush: A fluffy brush ideal for softening harsh lines and diffusing eyeshadow for a seamless look.
- Angled Liner Brush: This precise brush allows for applying eyeliner (both gel or powder) close to the lash line.
Mastering the Art of Eyeshadow: step-by-step
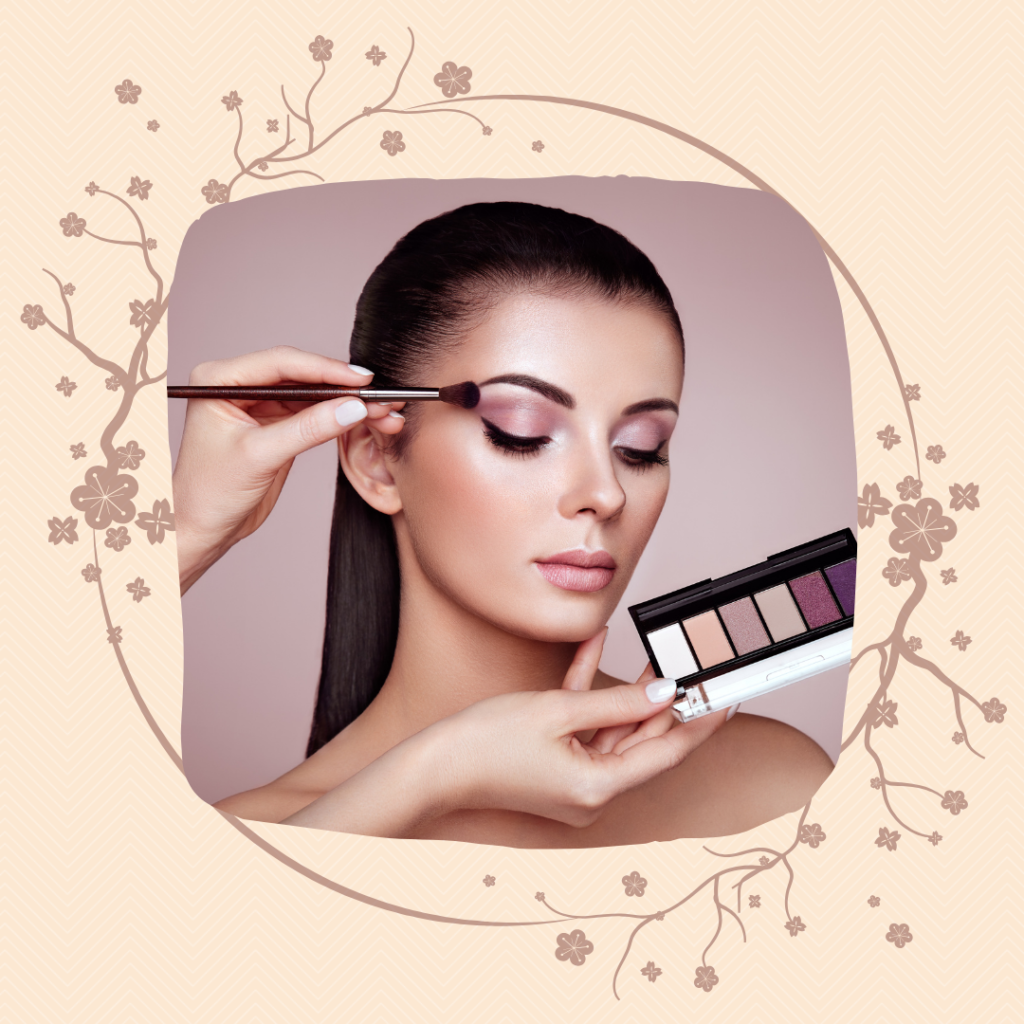
- Base Shade: Start with a light eyeshadow shade, slightly lighter than your skin tone. Apply it all over your eyelid with your shader brush. This creates a neutral canvas and helps even out any discoloration.
- Transition Shade: This shade is what creates depth and dimension in your eye look. Choose a color that’s a few shades darker than your base shade, but still neutral (think taupe, brown, or cool gray). Use your blending brush to apply this shade in the crease of your eyelid, where your lid folds. Gently buff and blend the color upwards to soften the edges and avoid harsh lines.
- Define the Crease (Optional): For a more dramatic look, you can use a darker shade to further define the crease. Choose a shade a few steps darker than your transition shade, and apply it with a small, angled brush to the outer third of your crease, blending it upwards and inwards.
- Lid Color: Now comes the fun part! Apply your chosen eyeshadow color to your mobile lid (the visible part of your eyelid). Use a packing motion with your shader brush to deposit the color. You can layer the color for more intensity.
- Highlight: A touch of shimmer on the inner corner of your eye and brow bone brightens up the eye area. Use a light, shimmery eyeshadow or highlighter for this step.
- Blend: This is arguably the most crucial step. Use your blending brush to soften any harsh lines and ensure all the colors transition seamlessly into each other. Buff in circular motions and windshield wiper motions to achieve a flawless, diffused look.
Extra Tips for Mastering the Art of Eyeshadow:
- Start Light: When starting, it’s easier to build up color than to take it away. Apply a light layer of eyeshadow first, then gradually add more until you reach the desired intensity.
- Less is More: Eyeshadow can easily become overwhelming. Especially when you’re new to it, opt for fewer colors and focus on blending them well.
- Clean Up: Use a cotton swab dipped in makeup remover to clean up any eyeshadow fallout (tiny particles that fall below the eye) for a polished look.
- Practice Makes Perfect: Don’t get discouraged if your first try isn’t perfect. The more you practice, the more comfortable and confident you’ll become with applying eyeshadow. There are many helpful video tutorials online that you can follow along with [YouTube].
Beyond the Basics: Exploring Different Techniques
As you get comfortable with the eyeshadow application, you can experiment with more techniques to create various looks. Here are a few popular ones:
- Smokey Eye: This classic look creates a sultry, dramatic effect. Use dark shades and blend them heavily in the crease and outer corners.
- Cut Crease: This technique defines the crease with a sharp line, creating an illusion of a deeper crease.
- Halo Eye: This look uses a light shade all over the lid with a darker shade concentrated in the center, creating a halo effect.
With a little practice and these helpful tips, you’ll be well on your way to mastering the art of eyeshadow application and creating endless eye looks to suit any occasion!
Be part of our community! Follow us on Facebook for updates, discussions, and more. Click Here